> ## Documentation Index
> Fetch the complete documentation index at: https://dripart-chore-sync-comfy-api-v2-spec.mintlify.site/llms.txt
> Use this file to discover all available pages before exploring further.

# 演示应用

> 从基于 Comfy API 构建的可运行演示应用开始。

从一个可运行的演示应用开始，然后根据自己的项目调整工作流和界面。想要最快捷的路径，请选择 Comfy Cloud；当你需要自己的模型或节点时，请选择自行部署。

<div className="sample-card-grid">
  <div className="sample-card" data-sample-card="true">
    <div className="sample-card-inner">
      <div className="sample-card-face sample-card-front" data-sample-front="true">
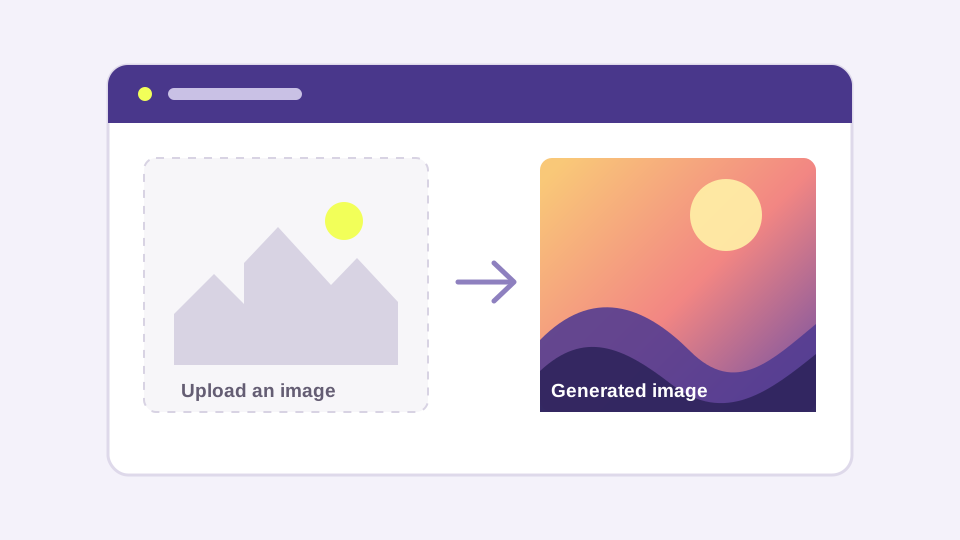
        <img src="https://mintcdn.com/dripart-chore-sync-comfy-api-v2-spec/hElEkp5bFb1VgX_X/images/samples/img2img-web-app.svg?fit=max&auto=format&n=hElEkp5bFb1VgX_X&q=85&s=1ee5b91b82896cdc6c98898be572bd34" alt="图生图网页应用的预览" className="sample-card-preview" data-sample-preview="api" noZoom="true" width="960" height="540" data-path="images/samples/img2img-web-app.svg" />

        <div className="sample-card-body">
          <h2>图生图网页应用</h2>
          <p>上传图片，运行 Comfy 工作流，并在 Next.js 应用中展示结果。</p>

          <div className="sample-card-actions">
            <button type="button" data-sample-open="api">使用 Comfy Cloud</button>
            <button type="button" data-sample-open="endpoint">自行部署</button>
          </div>

          <div className="sample-card-links">
            <a href="https://github.com/Comfy-Org/comfy-examples/blob/main/img2img-web-app/workflows/workflow_api.json?raw=1">下载工作流 ↗</a><span>·</span><a href="https://github.com/Comfy-Org/comfy-examples/tree/main/img2img-web-app">查看来源 ↗</a>
          </div>
        </div>
      </div>

      <div className="sample-card-face sample-card-back" data-sample-path="api" aria-hidden="true" inert="true">
        <div className="sample-path-body">
          <button type="button" data-sample-back="true">← 返回演示应用</button>
          <p className="sample-path-eyebrow">Comfy Cloud</p><h2>使用 Comfy Cloud 运行图生图网页应用</h2>
          <p>将 Comfy Cloud 用作托管端点。创建 API 密钥，然后部署该应用的副本。</p>

          <div className="sample-path-steps">
            <div className="sample-path-step"><span className="sample-path-number">1</span><div className="sample-path-copy"><strong>创建 API 密钥</strong><span>创建并保存 Comfy API 密钥。还需要有效的 Comfy Cloud 订阅。</span></div><a href="https://platform.comfy.org/profile/api-keys">创建 API 密钥 ↗</a></div>
            <div className="sample-path-step"><span className="sample-path-number">2</span><div className="sample-path-copy"><strong>将应用部署到 Vercel</strong><span>提供商会将此示例的副本创建到你的账户中。</span></div><a href="https://vercel.com/new/clone?repository-url=https%3A%2F%2Fgithub.com%2FComfy-Org%2Fcomfy-examples%2Ftree%2Fmain%2Fimg2img-web-app&env=COMFY_BASE_URL%2CCOMFY_API_KEY&envDefaults=%7B%22COMFY_BASE_URL%22%3A%22https%3A%2F%2Fcloud.comfy.org%22%7D">部署应用 ↗</a></div>
          </div>
        </div>
      </div>

      <div className="sample-card-face sample-card-back" data-sample-path="endpoint" aria-hidden="true" inert="true">
        <div className="sample-path-body">
          <button type="button" data-sample-back="true">← 返回演示应用</button>
          <p className="sample-path-eyebrow">自行部署</p><h2>为图生图网页应用部署你自己的端点</h2>
          <p>当你需要自己的模型或自定义节点时，创建 Comfy API 无服务器端点。</p>

          <div className="sample-path-steps">
            <div className="sample-path-step"><span className="sample-path-number">1</span><div className="sample-path-copy"><strong>下载工作流</strong><span>在专用部署流程中使用此 API 格式的工作流。</span></div><a href="https://github.com/Comfy-Org/comfy-examples/blob/main/img2img-web-app/workflows/workflow_api.json?raw=1">下载工作流 ↗</a></div>
            <div className="sample-path-step"><span className="sample-path-number">2</span><div className="sample-path-copy"><strong>创建 API 密钥</strong><span>创建并保存你部署的应用将使用的密钥。</span></div><a href="https://platform.comfy.org/profile/api-keys">创建 API 密钥 ↗</a></div>
            <div className="sample-path-step"><span className="sample-path-number">3</span><div className="sample-path-copy"><strong>粘贴工作流并部署</strong><span>在 Builds 中粘贴工作流，配置端点，然后等待其 URL。</span></div><a href="https://platform.comfy.org/profile/builds">打开 Builds ↗</a></div>
            <div className="sample-path-step"><span className="sample-path-number">4</span><div className="sample-path-copy"><strong>粘贴端点 URL 和 API 密钥</strong><span>在应用部署期间设置 COMFY\_BASE\_URL 和 COMFY\_API\_KEY。</span></div><a href="https://vercel.com/new/clone?repository-url=https%3A%2F%2Fgithub.com%2FComfy-Org%2Fcomfy-examples%2Ftree%2Fmain%2Fimg2img-web-app&env=COMFY_BASE_URL%2CCOMFY_API_KEY">部署应用 ↗</a></div>
          </div>
        </div>
      </div>
    </div>
  </div>

  <div className="sample-card" data-sample-card="true">
    <div className="sample-card-inner">
      <div className="sample-card-face sample-card-front" data-sample-front="true">
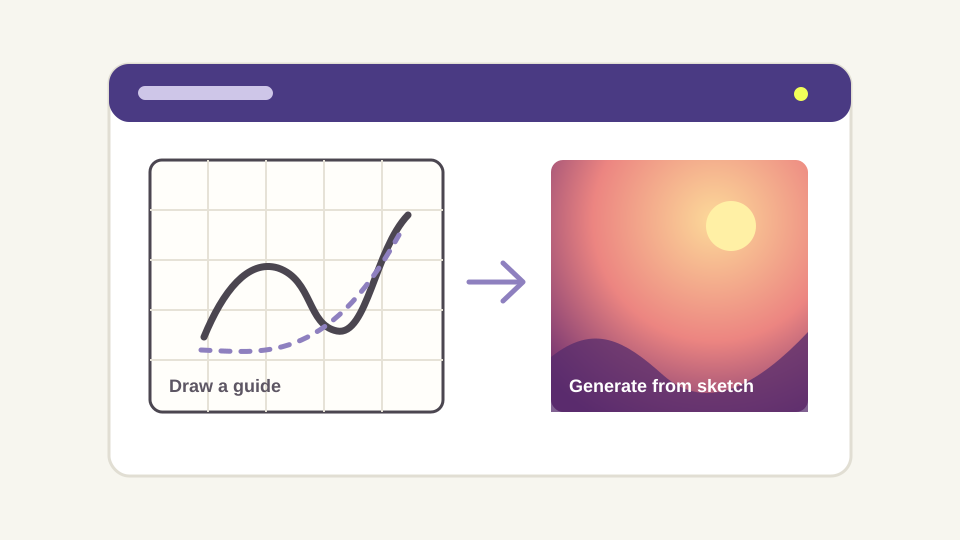
        <img src="https://mintcdn.com/dripart-chore-sync-comfy-api-v2-spec/hElEkp5bFb1VgX_X/images/samples/sketch-to-image.svg?fit=max&auto=format&n=hElEkp5bFb1VgX_X&q=85&s=09d2a9a5f6807bce5f840bc89a85ddca" alt="草图生图应用的预览" className="sample-card-preview" data-sample-preview="api" noZoom="true" width="960" height="540" data-path="images/samples/sketch-to-image.svg" />

        <div className="sample-card-body">
          <h2>草图生图</h2><p>绘制或导入参考图，然后根据参考图和提示词生成图像。</p>
          <div className="sample-card-actions"><button type="button" data-sample-open="api">使用 Comfy Cloud</button><button type="button" data-sample-open="endpoint">自行部署</button></div>
          <div className="sample-card-links"><a href="https://github.com/Comfy-Org/comfy-examples/blob/main/sketch-to-image/workflows/workflow_api.json?raw=1">下载工作流 ↗</a><span>·</span><a href="https://github.com/Comfy-Org/comfy-examples/tree/main/sketch-to-image">查看来源 ↗</a></div>
        </div>
      </div>

      <div className="sample-card-face sample-card-back" data-sample-path="api" aria-hidden="true" inert="true">
        <div className="sample-path-body">
          <button type="button" data-sample-back="true">← 返回演示应用</button>
          <p className="sample-path-eyebrow">Comfy Cloud</p>
          <h2>使用 Comfy Cloud 运行草图生图</h2>
          <p>将 Comfy Cloud 用作托管端点。创建 API 密钥，然后部署该应用的副本。</p>

          <div className="sample-path-steps">
            <div className="sample-path-step"><span className="sample-path-number">1</span><div className="sample-path-copy"><strong>创建 API 密钥</strong><span>创建并保存 Comfy API 密钥。还需要有效的 Comfy Cloud 订阅。</span></div><a href="https://platform.comfy.org/profile/api-keys">创建 API 密钥 ↗</a></div>
            <div className="sample-path-step"><span className="sample-path-number">2</span><div className="sample-path-copy"><strong>将应用部署到 Vercel</strong><span>提供商会将此示例的副本创建到你的账户中。</span></div><a href="https://vercel.com/new/clone?repository-url=https%3A%2F%2Fgithub.com%2FComfy-Org%2Fcomfy-examples%2Ftree%2Fmain%2Fsketch-to-image&env=COMFY_BASE_URL%2CCOMFY_API_KEY&envDefaults=%7B%22COMFY_BASE_URL%22%3A%22https%3A%2F%2Fcloud.comfy.org%22%7D">部署应用 ↗</a></div>
          </div>
        </div>
      </div>

      <div className="sample-card-face sample-card-back" data-sample-path="endpoint" aria-hidden="true" inert="true">
        <div className="sample-path-body">
          <button type="button" data-sample-back="true">← 返回演示应用</button>
          <p className="sample-path-eyebrow">自行部署</p>
          <h2>为草图生图部署你自己的端点</h2>
          <p>当你需要自己的模型或自定义节点时，创建 Comfy API 无服务器端点。</p>

          <div className="sample-path-steps">
            <div className="sample-path-step"><span className="sample-path-number">1</span><div className="sample-path-copy"><strong>下载工作流</strong><span>在专用部署流程中使用此 API 格式的工作流。</span></div><a href="https://github.com/Comfy-Org/comfy-examples/blob/main/sketch-to-image/workflows/workflow_api.json?raw=1">下载工作流 ↗</a></div>
            <div className="sample-path-step"><span className="sample-path-number">2</span><div className="sample-path-copy"><strong>创建 API 密钥</strong><span>创建并保存你部署的应用将使用的密钥。</span></div><a href="https://platform.comfy.org/profile/api-keys">创建 API 密钥 ↗</a></div>
            <div className="sample-path-step"><span className="sample-path-number">3</span><div className="sample-path-copy"><strong>粘贴工作流并部署</strong><span>在 Builds 中粘贴工作流，配置端点，然后等待其 URL。</span></div><a href="https://platform.comfy.org/profile/builds">打开 Builds ↗</a></div>
            <div className="sample-path-step"><span className="sample-path-number">4</span><div className="sample-path-copy"><strong>粘贴端点 URL 和 API 密钥</strong><span>在应用部署期间设置 COMFY\_BASE\_URL 和 COMFY\_API\_KEY。</span></div><a href="https://vercel.com/new/clone?repository-url=https%3A%2F%2Fgithub.com%2FComfy-Org%2Fcomfy-examples%2Ftree%2Fmain%2Fsketch-to-image&env=COMFY_BASE_URL%2CCOMFY_API_KEY">部署应用 ↗</a></div>
          </div>
        </div>
      </div>
    </div>
  </div>

  <div className="sample-card" data-sample-card="true">
    <div className="sample-card-inner">
      <div className="sample-card-face sample-card-front" data-sample-front="true">
        <img src="https://mintcdn.com/dripart-chore-sync-comfy-api-v2-spec/hElEkp5bFb1VgX_X/images/samples/discord-image-bot.svg?fit=max&auto=format&n=hElEkp5bFb1VgX_X&q=85&s=f5950f67dc97e484911955c658492dc9" alt="Discord 图像机器人的预览" className="sample-card-preview" data-sample-preview="api" noZoom="true" width="960" height="540" data-path="images/samples/discord-image-bot.svg" />

        <div className="sample-card-body">
          <h2>Discord 图像机器人</h2><p>向 Discord 服务器添加 `/imagine` 指令，并运行内置的 Comfy 工作流。</p>
          <div className="sample-card-actions"><button type="button" data-sample-open="api">使用 Comfy Cloud</button><button type="button" data-sample-open="endpoint">自行部署</button></div>
          <div className="sample-card-links"><a href="https://github.com/Comfy-Org/comfy-discord-image-bot/blob/main/workflows/workflow_api.json?raw=1">下载工作流 ↗</a><span>·</span><a href="https://github.com/Comfy-Org/comfy-discord-image-bot">查看来源 ↗</a></div>
        </div>
      </div>

      <div className="sample-card-face sample-card-back" data-sample-path="api" aria-hidden="true" inert="true">
        <div className="sample-path-body">
          <button type="button" data-sample-back="true">← 返回演示应用</button>
          <p className="sample-path-eyebrow">Comfy Cloud</p>
          <h2>使用 Comfy Cloud 运行 Discord 图像机器人</h2>
          <p>将 Comfy Cloud 用作托管端点。创建 API 密钥，然后部署该应用的副本。</p>

          <div className="sample-path-steps">
            <div className="sample-path-step"><span className="sample-path-number">1</span><div className="sample-path-copy"><strong>创建 API 密钥</strong><span>创建并保存 Comfy API 密钥。还需要有效的 Comfy Cloud 订阅。</span></div><a href="https://platform.comfy.org/profile/api-keys">创建 API 密钥 ↗</a></div>
            <div className="sample-path-step"><span className="sample-path-number">2</span><div className="sample-path-copy"><strong>将应用部署到 Render</strong><span>提供商会将此示例的副本创建到你的账户中。</span></div><a href="https://render.com/deploy?repo=https%3A%2F%2Fgithub.com%2FComfy-Org%2Fcomfy-discord-image-bot">部署应用 ↗</a></div>
          </div>
        </div>
      </div>

      <div className="sample-card-face sample-card-back" data-sample-path="endpoint" aria-hidden="true" inert="true">
        <div className="sample-path-body">
          <button type="button" data-sample-back="true">← 返回演示应用</button>
          <p className="sample-path-eyebrow">自行部署</p>
          <h2>为 Discord 图像机器人部署你自己的端点</h2>
          <p>当你需要自己的模型或自定义节点时，创建 Comfy API 无服务器端点。</p>

          <div className="sample-path-steps">
            <div className="sample-path-step"><span className="sample-path-number">1</span><div className="sample-path-copy"><strong>下载工作流</strong><span>在专用部署流程中使用此 API 格式的工作流。</span></div><a href="https://github.com/Comfy-Org/comfy-discord-image-bot/blob/main/workflows/workflow_api.json?raw=1">下载工作流 ↗</a></div>
            <div className="sample-path-step"><span className="sample-path-number">2</span><div className="sample-path-copy"><strong>创建 API 密钥</strong><span>创建并保存你部署的应用将使用的密钥。</span></div><a href="https://platform.comfy.org/profile/api-keys">创建 API 密钥 ↗</a></div>
            <div className="sample-path-step"><span className="sample-path-number">3</span><div className="sample-path-copy"><strong>粘贴工作流并部署</strong><span>在 Builds 中粘贴工作流，配置端点，然后等待其 URL。</span></div><a href="https://platform.comfy.org/profile/builds">打开 Builds ↗</a></div>
            <div className="sample-path-step"><span className="sample-path-number">4</span><div className="sample-path-copy"><strong>粘贴端点 URL 和 API 密钥</strong><span>在应用部署期间设置 COMFY\_BASE\_URL 和 COMFY\_API\_KEY。</span></div><a href="https://render.com/deploy?repo=https%3A%2F%2Fgithub.com%2FComfy-Org%2Fcomfy-discord-image-bot">部署应用 ↗</a></div>
          </div>
        </div>
      </div>
    </div>
  </div>
</div>

<Note>
  两种方式都需要 [Comfy API 密钥](https://platform.comfy.org/profile/api-keys)。若选择自行部署，请下载工作流，使用 Builds 粘贴工作流并配置无服务器端点，等待其 URL，然后将该 URL 和 API 密钥粘贴到你的 Vercel 或 Render 部署中。
</Note>

想添加演示应用？请参阅[示例仓库](https://github.com/Comfy-Org/comfy-examples)。